How to File Almond Nails: Step-by-Step Tutorial
Why Almond Nails?
Almond nails are beloved for their:
- Elongating effect - makes fingers appear longer and slimmer
- Feminine elegance - soft peak creates sophisticated look
- Versatility - works for both natural nails and extensions
- Balance - dramatic yet practical for everyday wear
Perfect for Asian hands, wide nail beds, and anyone seeking elegant elongation.
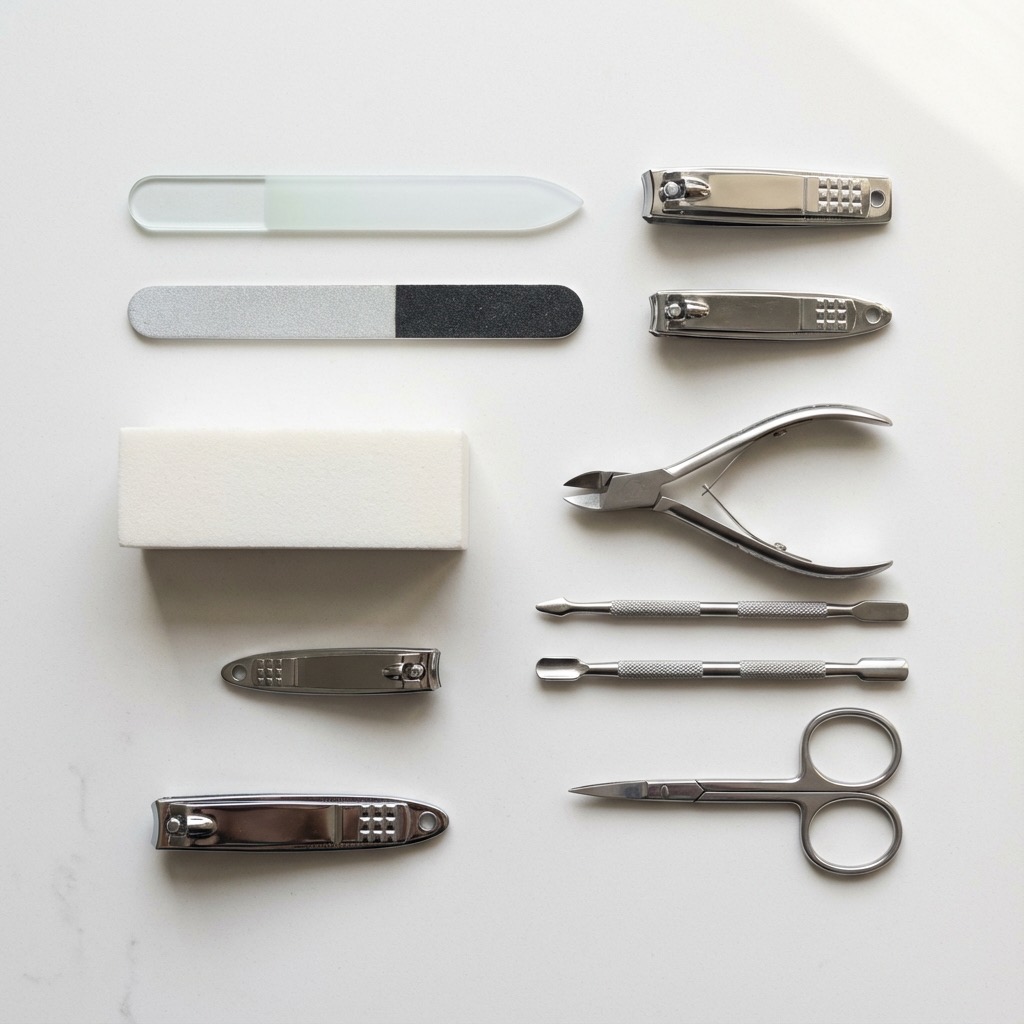
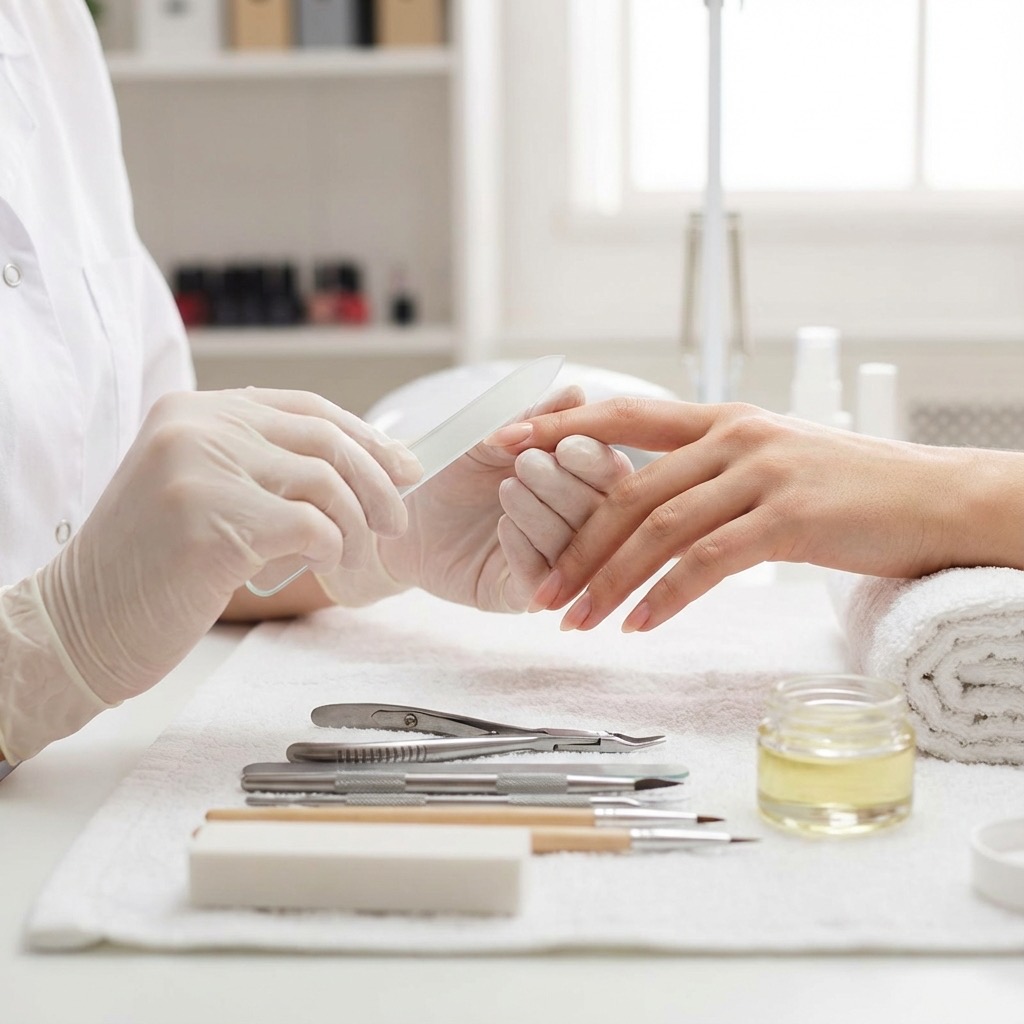
Tools Needed
Must-Haves:
- Nail file (180-grit for natural nails)
- Nail clippers
- Cuticle pusher
- Buffer (4-sided buffer block)
- Clear base coat (for strength)
Recommended:
- Glass file (finer finish, seals edges)
- Nail guide stickers (helps with symmetry)
- Magnifying mirror (check precision)
Pre-Filing Preparation
1. Assess Your Natural Shape
Almond works best with:
- Medium to long nail beds
- Some natural length (at least to fingertip)
- Reasonably strong nails (not very thin/peeling)
Not ideal for: Very short natural nails, very weak nails
2. Start with Clean Canvas
- Remove all old polish
- Wash hands thoroughly
- Push back cuticles gently
- Let nails dry completely
3. Initial Trim
- Clip nails straight across
- Leave slightly longer than final length
- Don't clip into corners yet
Step-by-Step Filing Guide
Step 1: Create the Base
File sides straight first:
- File left side straight at 45° angle toward center
- File right side straight at 45° angle toward center
- Meet in center at a point
- Keep equal angles on both sides
Angle Guide: Imagine a triangle - sides should meet at apex
Step 2: Round the Peak
Transform point to soft peak:
- Gently round the sharp tip
- Maintain taper - keep sides narrower than base
- Create oval at tip (not round, not pointed)
- Check symmetry - match both sides
Key: Peak should be rounded not sharp (that's stiletto)
Step 3: Refine the Shape
Fine-tune the silhouette:
- Smooth sides - remove any flat spots
- Perfect symmetry - use nail guide if needed
- Check from all angles - front, side, top views
- Match all fingers - consistent proportions
Step 4: Smooth and Buff
Professional finish:
- Use buffer to remove file marks
- Seal edges with glass file (if available)
- Buff surface to smooth shine
- Apply cuticle oil for moisture
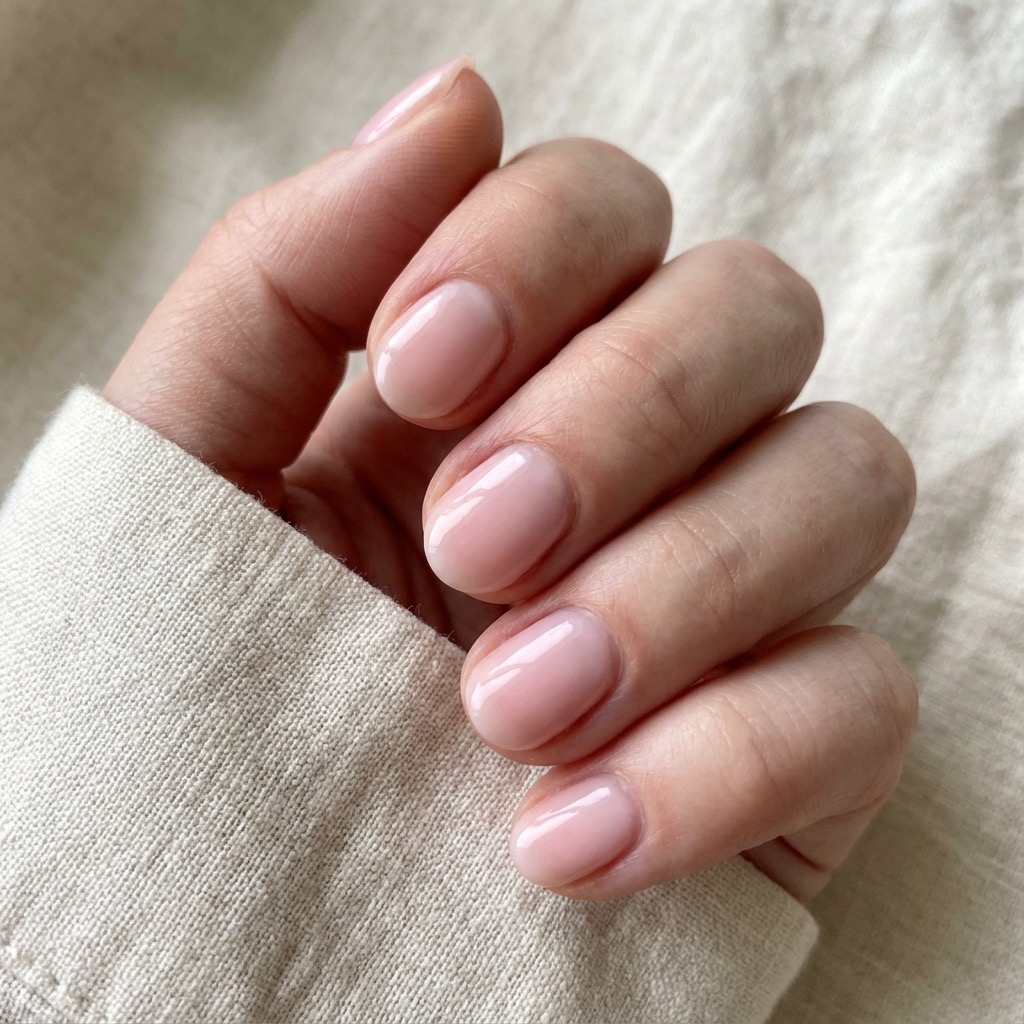
Visual Guide: What Perfect Almond Looks Like
Proportions:
- Widest at base (cuticle area)
- Tapers evenly toward tip
- Rounded peak (not sharp, not flat)
- Symmetrical sides (mirror images)
Length Guide:
- Short: Just beyond fingertip
- Medium (recommended): 2-3mm beyond fingertip
- Long: 4mm+ beyond fingertip
Common Mistakes & Fixes
Mistake 1: Too Pointy (Looks Stiletto)
Problem: Peak is sharp instead of rounded Fix: File more gently at tip, round off sharpness
Mistake 2: Too Round (Looks Oval)
Problem: Lost the tapered almond silhouette Fix: Re-file sides at steeper angle, recreate taper
Mistake 3: Uneven Sides
Problem: One side more tapered than other Fix: Match less-tapered side to more-tapered side
Mistake 4: Flat Tip
Problem: Tip is flat instead of peaked Fix: File tip into gentle curve/oval
Mistake 5: Over-Filing
Problem: Nails become thin, weak, sensitive Fix: Stop immediately, apply strengthener, wait before reshaping
Maintenance Routine
Daily:
- Inspect for snags or roughness
- File lightly if needed (one direction only)
- Apply cuticle oil (keeps cuticles neat)
Weekly:
- Refine shape - file any uneven growth
- Buff lightly - maintain smooth surface
- Check lengths - trim if too long
Bi-Weekly:
- Full reshape if shape has grown out
- Deep conditioning treatment
- Evaluate effectiveness
Styling Almond Nails
Best Polish Colors:
- Nudes/skin tones - elongates further
- French tip - classic almond look
- Single bold color - showcases shape
- Gradient/ombre - enhances taper
Nail Art Ideas:
- Minimalist - single accent nail
- Vertical lines - enhances elongation
- Negative space - modern and chic
- Small stones near cuticle (not tip)
Tips for Different Nail Types
For Wide Nail Beds:
- Go longer for more dramatic taper
- Steeper angle on sides
- Medium length minimum
For Short Fingers:
- Medium to long length for elongation
- Maintain symmetry carefully
- Light/nude colors recommended
For Weak Nails:
- Keep shorter (medium length)
- Use strengthener base coat
- Consider gel/acrylic reinforcement
When Almond Might Not Work
Almond isn't ideal for:
- Very short natural nails (can't achieve taper)
- Highly active lifestyle (corners can snag)
- Very wide beds without length (looks disproportionate)
Better alternatives: Round, oval, or extensions
Professional Tips
1. Use Guide Stickers
Place small round stickers as guide:
- One on each side of nail
- File to meet stickers
- Remove when satisfied
- Ensures symmetry
2. File Under Nail
File underneath the free edge:
- Removes roughness
- Seals edge layers
- Prevents snags
- Professional finish
3. Check in Natural Light
Artificial light can deceive:
- Use daylight if possible
- Check from multiple angles
- Photograph to see true shape
- Adjust as needed
4. Match Your Dominant Hand
Your dominant hand will have different pressure:
- Right-handed: Left hand needs MORE filing
- Left-handed: Right hand needs MORE filing
- Non-dominant nails are often under-filed
Troubleshooting
Nails Keep Breaking at Sides
Cause: Stress at narrowest point Fix: Shorten length, reinforce with overlay
Shape Grows Out Unevenly
Cause: Natural nail growth patterns Fix: File more frequently to maintain
Can't Get Symmetry
Cause: Handedness, natural shape Fix: Use guide stickers, file slowly, check frequently
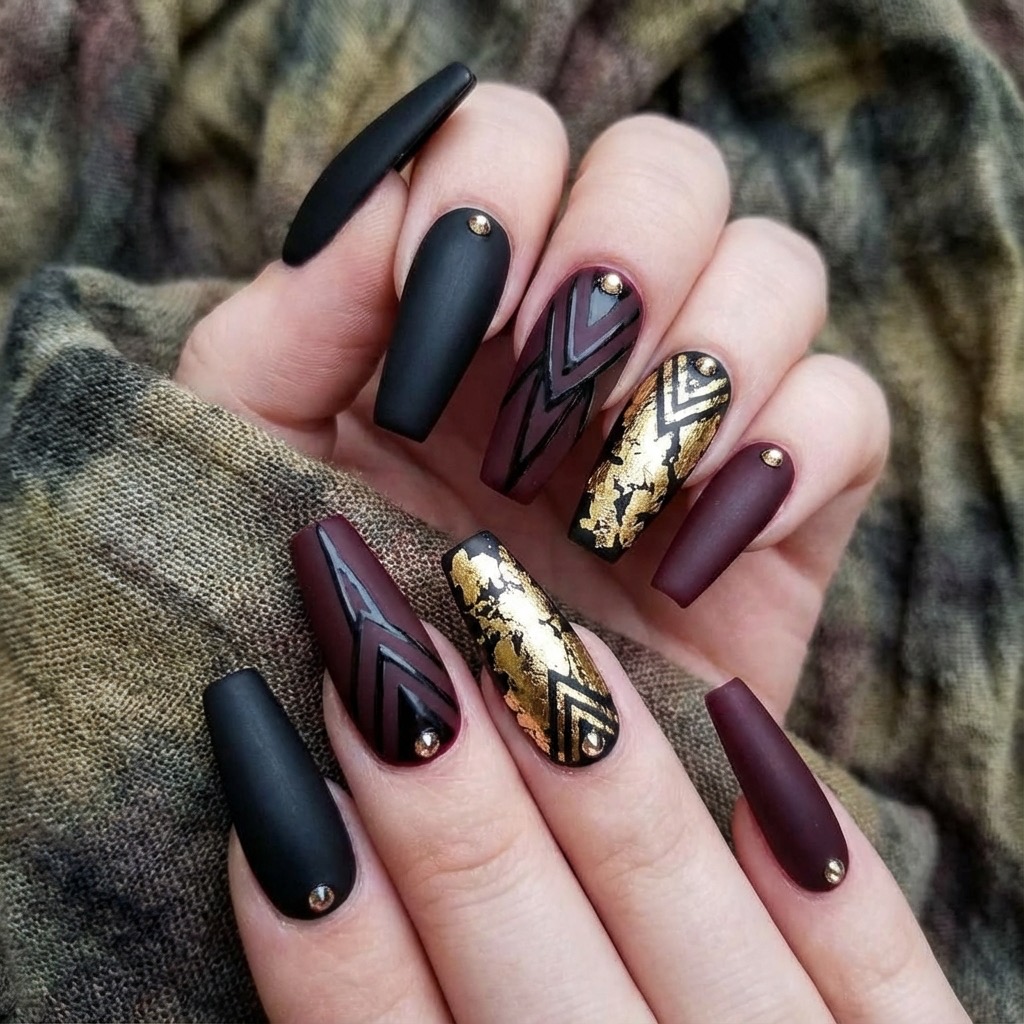
Advanced: Almond Variations
Once you master basic almond, try:
Squared Almond
- Almond base with squarer tip
- More modern edge
- Still elongating
Russian Almond
- More dramatic taper
- Sharper peak (almost stiletto)
- Very elongating
Conclusion
Almond nails are the perfect balance of drama and wearability. With practice, you'll achieve salon-quality results at home.
Remember: Patience is key. File slowly, check frequently, and don't rush. It's better to file too little than too much.
Ready to try almond or explore other shapes? Take our quiz to find your perfect match.
Not Sure Which Nail Shape Suits You?
Take our interactive quiz to get personalized recommendations based on your hand type and lifestyle.
Find Your Perfect Nail Shape