How to Shape Your Nails at Home: Complete Beginner's Guide
Why Shape Matters
Your nail shape affects:
- Finger appearance - elongation or stubbiness
- Nail strength - stress points and breakage
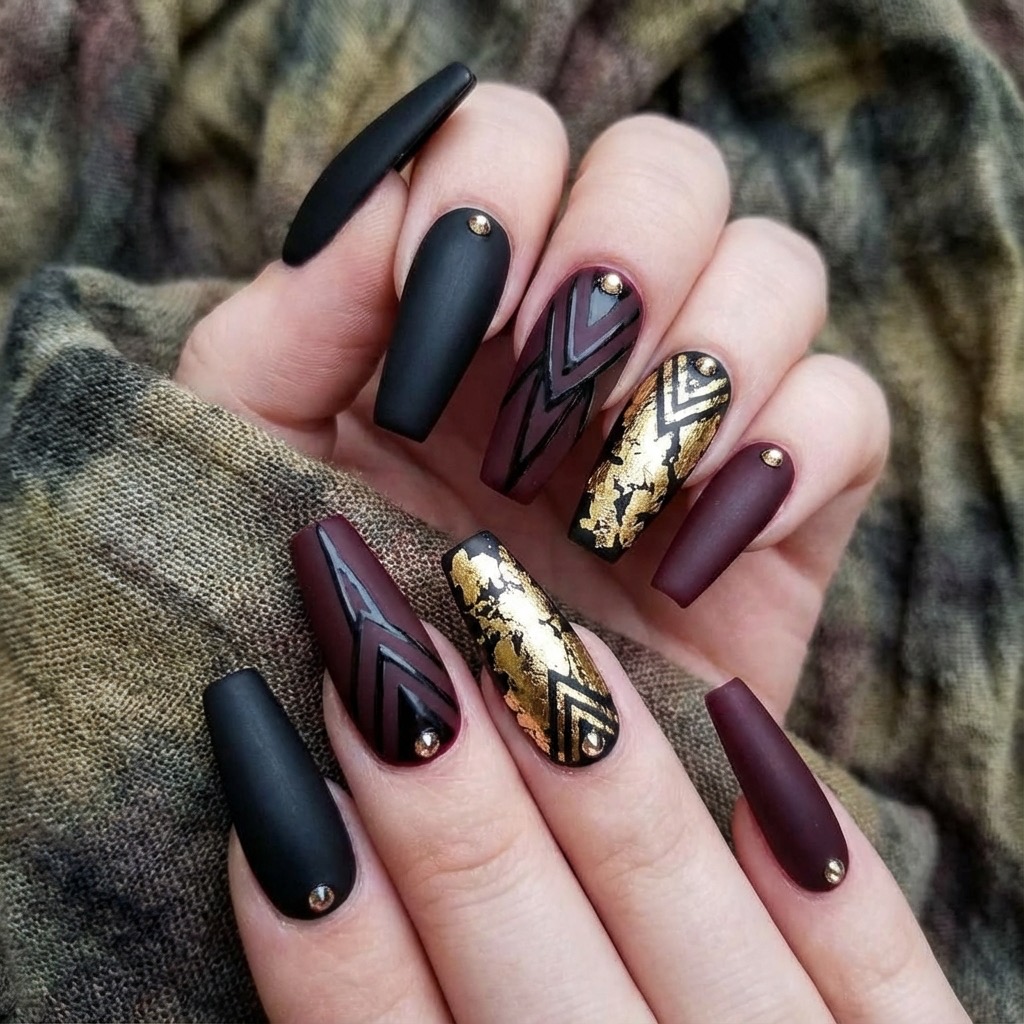
- Style expression - from natural to dramatic
- Maintenance needs - how often filing is required
Learning to shape nails at home saves money and ensures your nails always look their best.
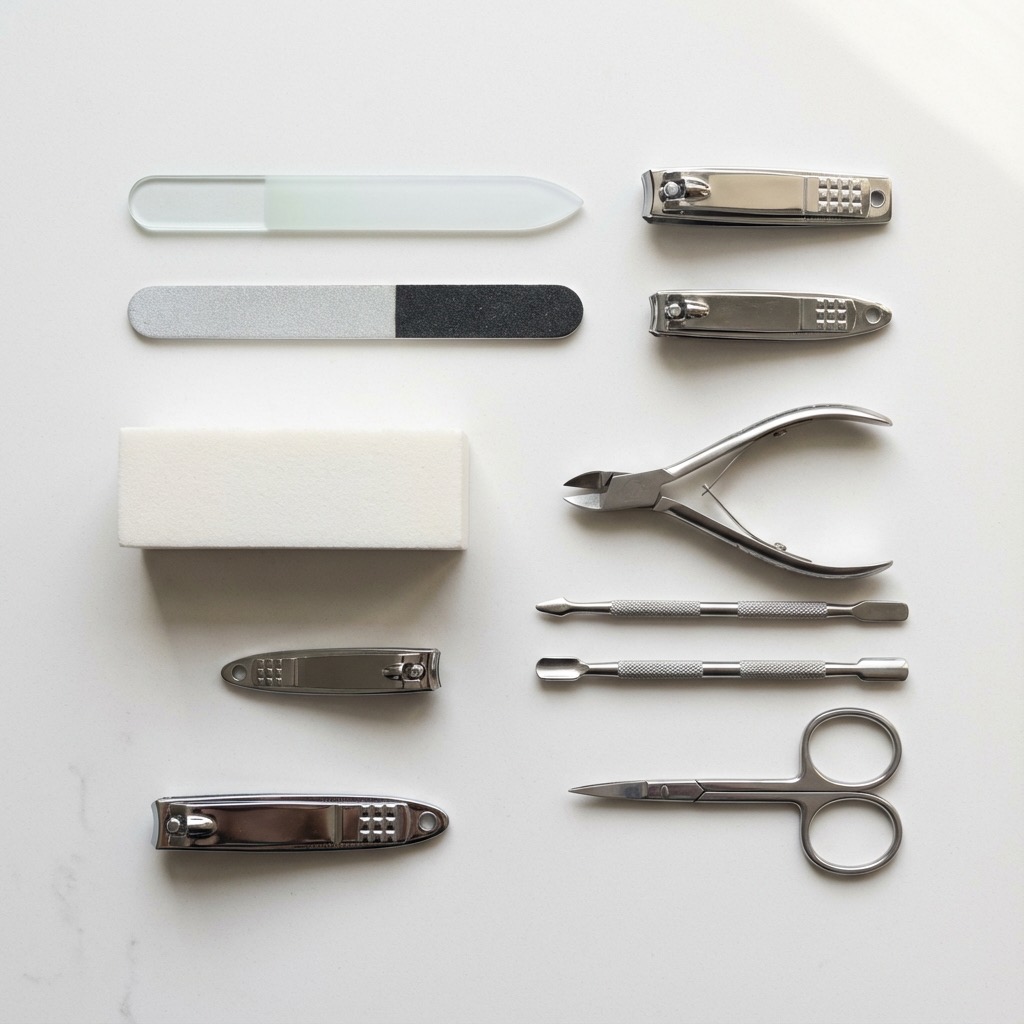
Tools You Need
Essentials:
- Nail file (180-240 grit for natural nails)
- Nail clippers
- Cuticle pusher (metal or wooden)
- Nail buffer (4-sided buffer)
- Nail polish remover (for clean slate)
Optional but Helpful:
- Glass file (finer finish, seals keratin)
- Cuticle oil (moisturize after)
- Clear base coat (protect and strengthen)
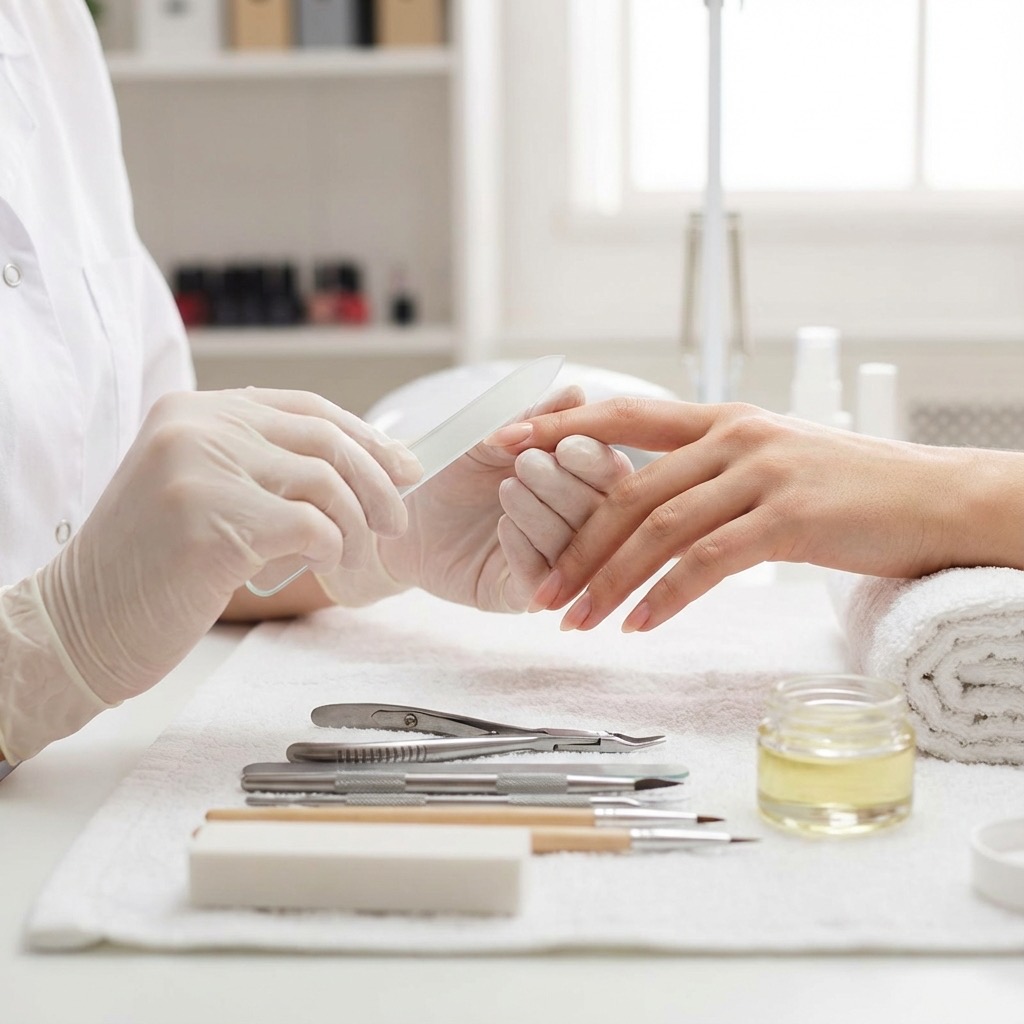
Preparation Steps
1. Start with Clean Nails
Remove old polish completely:
- Use acetone-free remover (less drying)
- Cotton pads work better than balls
- Don't forget corners and edges
2. Trim to Desired Length
Before shaping:
- Clippers first, file second
- Leave slightly longer than final length
- Straight across for most shapes
- Diagonal for stiletto (advanced)
3. Soften Cuticles (Optional)
- Apply cuticle oil or warm water
- Push back gently with cuticle pusher
- Never cut live cuticle tissue
Basic Shaping Techniques
The Golden Rules
- File in one direction (not back-and-forth)
- Use light pressure (let file do work)
- Check progress frequently (easy to over-file)
- Match all fingers (consistency matters)
Direction Matters
CORRECT: Center → Corner → Lift → Repeat
WRONG: Sawing motion back-and-forth
Sawing causes:
- Nail splitting
- Peeling layers
- Rough edges
- Weak structure
Shape-by-Shape Guide
Round Shape
- File sides straight toward center
- Round off the tip completely
- Follow natural finger curve
- Keep shape symmetrical
Difficulty: Beginner Time: 3-5 minutes
Oval Shape
- File sides following finger curve
- Create oval at the tip (not round, not pointed)
- More tapered than round
- Smooth top arch
Difficulty: Beginner Time: 5-7 minutes
Square Shape
- File sides straight and parallel
- File tip straight across
- Slightly round sharp corners (prevent snagging)
- Keep edges crisp
Difficulty: Beginner Time: 3-5 minutes
Almond Shape
- File sides at 45° angle toward center
- Create tapered silhouette
- Round off tip to soft peak
- Maintain symmetry (both sides)
Difficulty: Intermediate Time: 7-10 minutes
Squoval Shape
- Start with square base
- File corners into slight curve
- Keep sides mostly straight
- Balance straight/curved elements
Difficulty: Intermediate Time: 5-7 minutes
Finishing Touches
1. Smooth with Buffer
Use your 4-sided buffer:
- Side 1: Remove file marks (coarse)
- Side 2: Smooth surface (medium)
- Side 3: Buff shine (fine)
- Side 4: Polish gloss (extra fine)
2. Clean Under Nails
- Use nail brush or orange stick
- Gently clean debris
- Don't over-clean (causes sensitivity)
3. Moisturize Cuticles
- Apply cuticle oil
- Massage into cuticle area
- Let absorb before polish
Common Mistakes to Avoid
Over-Filing
Problem: Thin, weak nails that break easily Solution: File in short sessions, check frequently
Filing Wet Nails
Problem: Nails peel and layer separate Solution: Always file dry nails only
Ignoring Natural Nail Shape
Problem: Looks unnatural, hard to maintain Solution: Work WITH your natural shape, not against it
Inconsistent Lengths
Problem: Unprofessional appearance Solution: Measure against each other, adjust until even
Maintenance Schedule
Weekly:
- Light filing to maintain shape
- Buff any snags or roughness
- Apply cuticle oil
Bi-Weekly:
- Full reshape if needed
- Trim if growing out
- Deep conditioning treatment
Monthly:
- Evaluate shape effectiveness
- Consider changing shapes
- Full manicure refresh
Troubleshooting
Nails Keep Breaking
Cause: Too long or wrong shape for lifestyle Fix: Shorten length or choose durable shape (round/oval)
Shape Won't Hold
Cause: Natural nail shape conflicts with desired shape Fix: Choose closer-to-natural shape or use extensions
One Side Different Than Other
Cause: Handedness (dominant hand files differently) Fix: File non-dominant hand MORE carefully, check mirror
Tips Curling
Cause: Too much filing or natural nail weakness Fix: Shorten length, use strengthener, reduce filing frequency
Professional Tips
Use the Right File Grit
- 180 grit: Natural nails
- 240 grit: Fine shaping, gel nails
- 320+ grit: Final polish only
Seal the Keratin
- Glass files seal keratin layers
- Emery boards can leave rough edges
- Always finish with finest grit possible
Work in Good Light
- Natural daylight best
- Bright LED lamp works
- Check from multiple angles
Take Breaks
If nails feel sensitive:
- Stop and wait a few days
- Apply strengthening treatment
- Return when nails recovered
When to See a Pro
Some situations need professional help:
- Severe damage or thinning
- Fungal issues or infection
- Complex shapes (stiletto, coffin)
- Extensions or enhancements
- First time trying dramatic shape
Conclusion
Shaping nails at home is completely achievable with patience and practice. Start with simple shapes (round, oval) before attempting complex ones (almond, stiletto).
Remember: Your natural nail shape is your best guide. Work with it, not against it, for results that look great AND last.
Not sure which shape to try? Take our quiz for personalized recommendations based on your unique anatomy and lifestyle.
Not Sure Which Nail Shape Suits You?
Take our interactive quiz to get personalized recommendations based on your hand type and lifestyle.
Find Your Perfect Nail Shape